How to Pause a Print or Change Filament in Orca Slicer?
How to pause print or change filament in Orca Slicer is a technical issue. Orca Slicer is a powerful slicing software that offers advanced features like pausing prints mid-process and changing filament at specific layers.
Whether you’re performing a manual filament change, using AMS (Automatic Material System), or troubleshooting issues like ‘Orca Slicer change filament greyed out’, this guide will walk you through each step in detail.
Orca Slicer | Pause Print Or Change Filament
Pausing a print or changing filament mid-print in Orca Slicer is essential for achieving multi-material prints, fixing errors, and embedding objects.
Why Would You Pause a Print or Change Filament?
- Multi-Color Printing – Change filament mid-print for a multi-color effect.
- Material Switching – Swap between different materials (e.g., PLA to TPU).
- Rescue Failed Prints – Pause and fix minor print issues.
- Embedding Objects – Insert magnets, nuts, or other components mid-print.
How to Pause a Print in Orca Slicer?
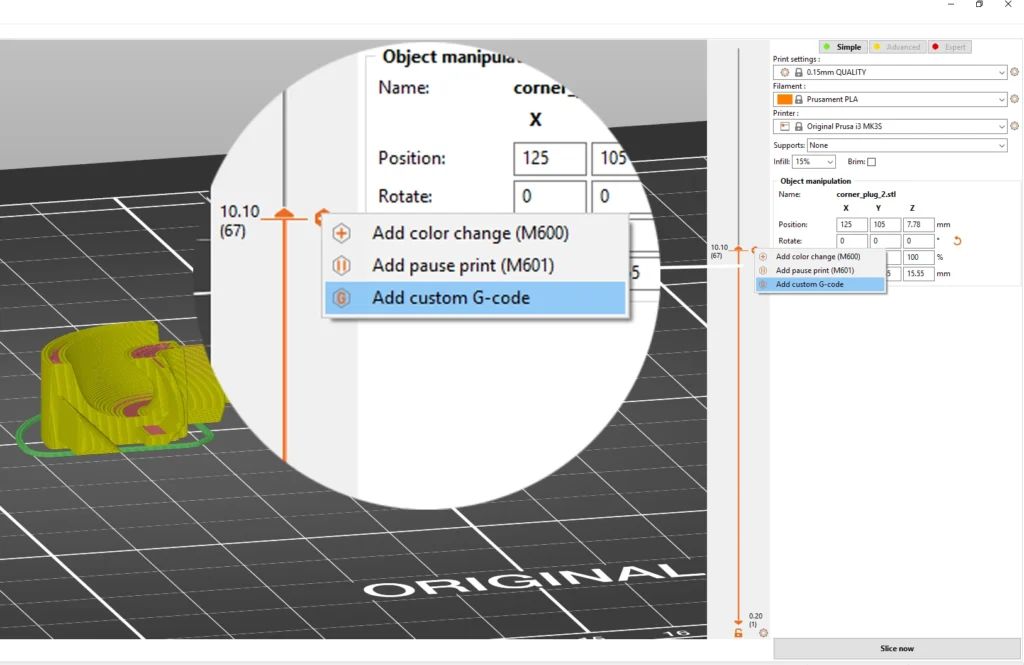
1. Using ‘Pause at Layer’ Feature
To pause a print at a specific layer:
- Open Orca Slicer and load your model.
- Navigate to Preview Mode.
- Find the layer where you want the print to pause.
- Go to Print Settings > Scripts.
- Click ‘Pause Print at Layer’ and input the desired layer number.
- Export the G-code and start your print.
2. Pause Before or After a Layer?
- Before Layer: The printer stops before starting the selected layer.
- After Layer: The printer completes the selected layer before pausing.
Use ‘Pause Before Layer’ if inserting objects, ‘Pause After Layer’ for filament changes.
3. Using G-code to Manually Pause a Print
For greater control, add the following G-code command at a specific layer:
M0 ; Pause PrintIf using OctoPrint or Klipper, you may need to enable M0 commands.
How to Change Filament in Orca Slicer
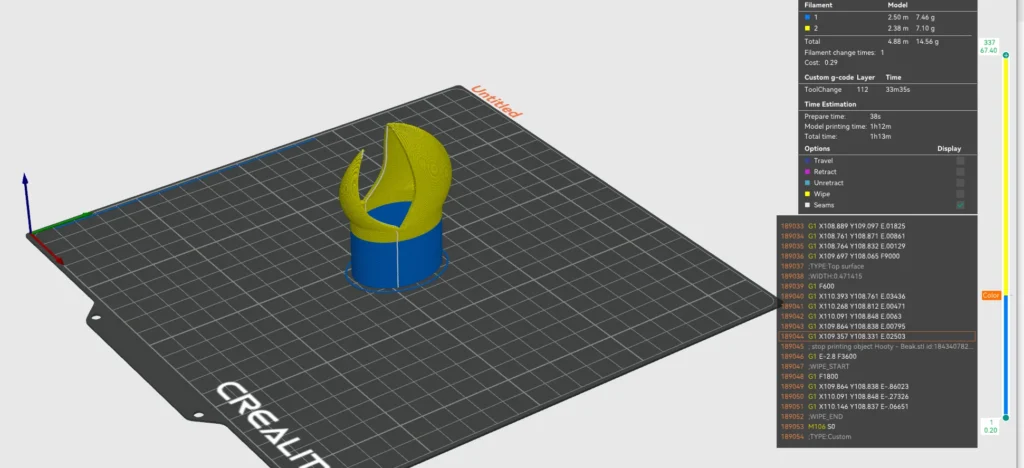
1. Automatic Filament Change (AMS System)
For Bambu Lab printers with AMS:
- Enable ‘Change Filament at Layer AMS’ in Printer Settings.
- Select the layer where you want to swap the filament.
- Assign a new filament from the AMS menu.
- The printer will automatically pause and switch the filament.
2. Manual Filament Change in Orca Slicer
If using a non-AMS printer:
- Go to Print Settings > Scripts.
- Click ‘Change Filament at Layer’.
- Enter the target layer.
- Start your print. The printer will pause at the specified layer.
- Manually unload the old filament and load the new one.
- Resume printing.
Looking for more advanced Orca Slicer settings? Check out our guide on Orca Slicer Calibration Guide for perfect print quality!
Troubleshooting Common Issues
1. ‘Change Filament’ Option Greyed Out
- Ensure your printer supports filament change.
- Check that you’ve selected the right print profile.
- Restart Orca Slicer if the issue persists.
2. Pause Feature Not Working
- Confirm that G-code commands (M0/M600) are enabled in firmware.
- If using Cura, try ‘Pause at Height’.
- Ensure Orca Slicer calibration is complete for proper execution.
3. Orca Slicer ‘Add Pause’ Greyed Out
- Update to the latest Orca Slicer download.
- Check your slicing settings and printer compatibility.
Orca Slicer Not Working
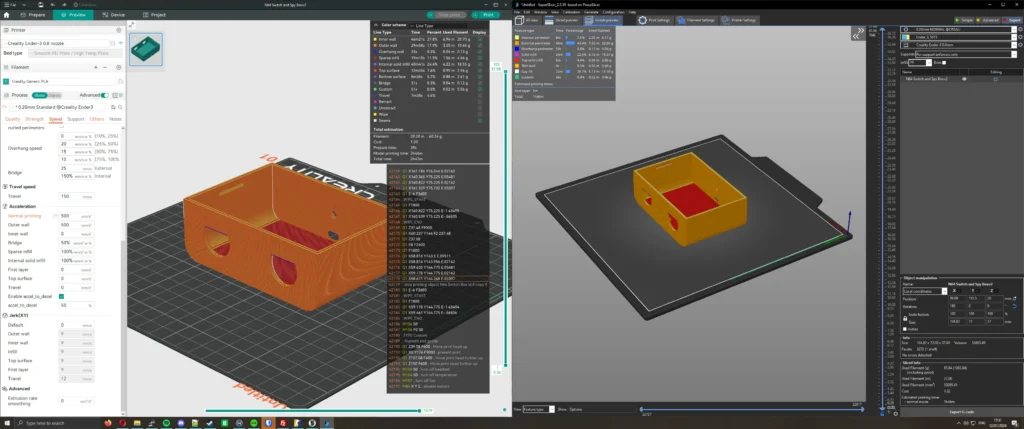
If you’re facing issues with Orca Slicer not working, it could be due to outdated software, incorrect printer settings, or conflicts with third-party plugins. Ensuring that you’re using the latest version and that your printer firmware is compatible can often resolve these problems.
Orca vs Creality vs Bambu Studio
Choosing the right slicing software can be overwhelming, especially when comparing Orca Slicer, Creality Slicer, and Bambu Studio. Each has its strengths—while Orca Slicer offers robust customization, Creality Slicer is optimized for Creality printers, and Bambu Studio excels with AMS support. To determine which slicer best suits your needs, explore our in-depth comparison: Orca vs Creality vs Bambu Studio.
Orca vs Cura vs Prusa Slicer
Slicer software plays a crucial role in print quality, and the debate between Orca Slicer, Cura, and PrusaSlicer continues among 3D printing enthusiasts. Cura offers a user-friendly experience, PrusaSlicer is tailored for Prusa machines, while Orca Slicer provides advanced controls for experienced users. For a detailed feature-by-feature comparison, visit our guide: Orca vs Cura vs Prusa Slicer.
Filament Settings
Proper filament settings in Orca Slicer are crucial for achieving high-quality prints. Adjusting parameters like temperature, flow rate, and retraction settings ensures optimal adhesion and minimal stringing. Whether you’re using PLA, PETG, or ABS, configuring the right settings can make all the difference. Learn how to fine-tune these settings for different materials in our comprehensive guide: Filament Settings in Orca Slicer.
Printer Selection
Selecting the right printer profile in Orca Slicer is essential for compatibility and print accuracy. With support for a range of machines, including Bambu Lab, Creality, and Prusa, correctly setting up your printer ensures smoother slicing and better print outcomes. If you’re unsure which printer settings to use, check out our detailed breakdown here: Printer Selection in Orca Slicer.
Update Orca Slicer
Keeping Orca Slicer updated is vital to access the latest features, bug fixes, and performance improvements. Many printing issues arise due to outdated versions, so checking for updates regularly is recommended. If you’re unsure how to update your slicer, follow our step-by-step guide: How to Update Orca Slicer.
Best Orca Slicer Alternatives
While Orca Slicer is a powerful tool, some users may prefer other slicing software depending on their needs. Alternatives like Cura, PrusaSlicer, and Bambu Studio offer unique benefits, from better printer compatibility to specialized slicing algorithms. If you’re looking for the best alternatives to Orca Slicer, explore our curated list here: Best Orca Slicer Alternatives.
By understanding how to use the pause at layer, manual filament change, and G-code methods, you can take full control of your prints. If you encounter issues like ‘pause not working’ or ‘change filament greyed out’, refer to the troubleshooting tips above to resolve them quickly.
For a visual guide on adding a pause in Orca Slicer, you might find the following video helpful:
Conclusion: Orca Slicer Pause Print Or Change Filament
Pausing a print or changing filament mid-print in Orca Slicer is essential for achieving multi-material prints, fixing errors, and embedding objects. By understanding how to use the pause at layer, manual filament change, and G-code methods, you can take full control of your prints. If you encounter issues like ‘pause not working’ or ‘change filament greyed out’, refer to the troubleshooting tips above to resolve them quickly.
Frequently Asked Questions
Why does filament change in Orca Slicer not add in a print?
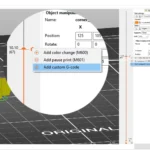
This issue occurs when the filament change command isn’t properly added to the G-code. To fix this:
Ensure that “Change Filament at Layer” is enabled in Print Settings > Scripts.
If using AMS (Automatic Material System), confirm that it is set up correctly.
Check if the filament change is inserted before or after a layer, as this affects execution.
Can I change filament post-pause at height in Orca Slicer?
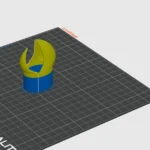
Yes, you can manually change the filament after pausing at a specific height. Use the “Pause at Layer” function in Orca Slicer to stop the print at the desired point. Once the printer pauses, you can manually unload the existing filament and load a new one. After replacing the filament, resume the print using your printer’s control panel or software interface.
How do I change filament at a specific layer in Orca Slicer?
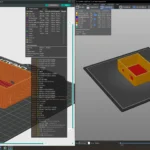
To change filament at a particular layer, open Orca Slicer and load your model. Navigate to Print Settings, then Scripts, and select “Change Filament at Layer.” Enter the layer number where you want the filament change to occur, and start the print. The printer will automatically pause at the specified layer, allowing you to switch the filament before continuing the print.
Should I pause before or after a layer in Orca Slicer?

Pausing before a layer means the printer will stop printing right before starting the selected layer, which is useful for inserting objects or making changes at precise points. Pausing after a layer allows the printer to complete the selected layer before stopping, which is generally the best choice for smooth filament swaps without disrupting the print.
Why is the “Change Filament” option greyed out in Orca Slicer?

If the “Change Filament at Layer” option is unavailable, first ensure that your printer supports filament swaps. Restart Orca Slicer and check if any updates are available, as outdated versions may cause compatibility issues. Also, confirm that you are using a print profile that supports filament changes, as some profiles may not allow this function.
How do I manually change filament in Orca Slicer?

If automatic filament changes are not working or not supported, you can do it manually using the “Pause at Layer” feature. When the print pauses, unload the current filament, insert the new one, and ensure it is properly loaded before resuming the print using your printer’s interface.
What should I do if the pause feature is not working in Orca Slicer?

If your printer does not pause as expected, check that M0 (Pause) or M600 (Filament Change) G-code commands are enabled in your firmware. Some slicers, such as Cura, use a “Pause at Height” function instead, which may work better depending on your printer model. Additionally, ensure that your printer’s firmware supports pause and resume commands for smooth operation.
How do I change filament at a layer using AMS in Orca Slicer?

For AMS-compatible printers such as those from Bambu Lab, enable the “Change Filament at Layer AMS” option in Printer Settings. Then, assign the new filament type in the AMS menu. The printer will automatically pause and switch to the assigned filament at the specified layer, making the process seamless.
Why is the “Add Pause” option greyed out in Orca Slicer?

If the “Add Pause” option is unavailable, update Orca Slicer to the latest version, as older versions may have compatibility issues. Check that you are using the correct slicing profile and that your printer supports pause functionality. If you are using an AMS system, ensure that filament changes are correctly configured to avoid conflicts
How do I pause a print in Orca Slicer?

To pause a print, use the “Pause at Layer” option in Print Settings under Scripts. Alternatively, you can manually insert an M0 or M600 command in the G-code, which will instruct the printer to pause at the designated point. These methods allow you to stop and resume the print when needed.
How long can you pause a 3D print?

Most 3D printers can stay paused for several hours without major issues. However, keeping the heated bed active is recommended to prevent the print from detaching. It is best to resume printing as soon as possible to avoid potential warping or adhesion problems.
How do I pause a printer in Windows 11?

To pause a printer in Windows 11, open the Control Panel and go to Devices and Printers. Locate your printer, right-click on it, and select “Pause Printing” from the menu. This will temporarily halt any ongoing print jobs until you choose to resume.
Can I pause a 3D print and turn off the printer?

Some 3D printers support power loss recovery, allowing you to turn off the printer and resume the print later. However, this depends on the firmware of your printer. If your printer has this feature, make sure to enable it in the settings before pausing the print.
Can I pause a Bambu Lab print overnight?

Yes, you can pause a Bambu Lab print overnight, but it is important to keep the heated bed on to prevent adhesion loss. Additionally, resuming the print within a reasonable timeframe is recommended to avoid print defects such as layer separation or warping.
Can you pause an Ender 3 print overnight?

Pausing an Ender 3 print overnight is possible, but there are a few considerations to keep in mind. Keeping the print bed warm will help prevent warping, and enabling the “Power Loss Recovery” feature, if available, will allow you to resume printing seamlessly if the power is turned off during the pause.

