Orca Slicer Filament: Settings And Customization Guide
When it comes to 3D printing, the right slicer software can make all the difference. Orca Slicer has emerged as a powerful tool for enthusiasts and professionals alike, offering advanced features and customization options. One of the most critical aspects of achieving high-quality prints is understanding and optimizing Orca Slicer filament settings. In this comprehensive guide, we’ll dive deep into Orca Slicer filament profiles, calibration, presets, and more to help you master your 3D printing workflow.
What is Orca Slicer?
Orca Slicer is a versatile slicing software designed to enhance the 3D printing experience. It offers a user-friendly interface, robust customization options, and compatibility with a wide range of 3D printers. One of its standout features is the ability to fine-tune filament settings, ensuring optimal print quality for different materials.
Understanding Orca Slicer Filament Profiles
What Are Orca Slicer Filament Profiles?
Orca Slicer filament profiles are pre-configured settings tailored to specific types of filament. These profiles include parameters like temperature, retraction, flow rate, and cooling, which are optimized for materials such as PLA, ABS, PETG, and more. Using the right profile ensures that your printer operates efficiently and produces high-quality prints.
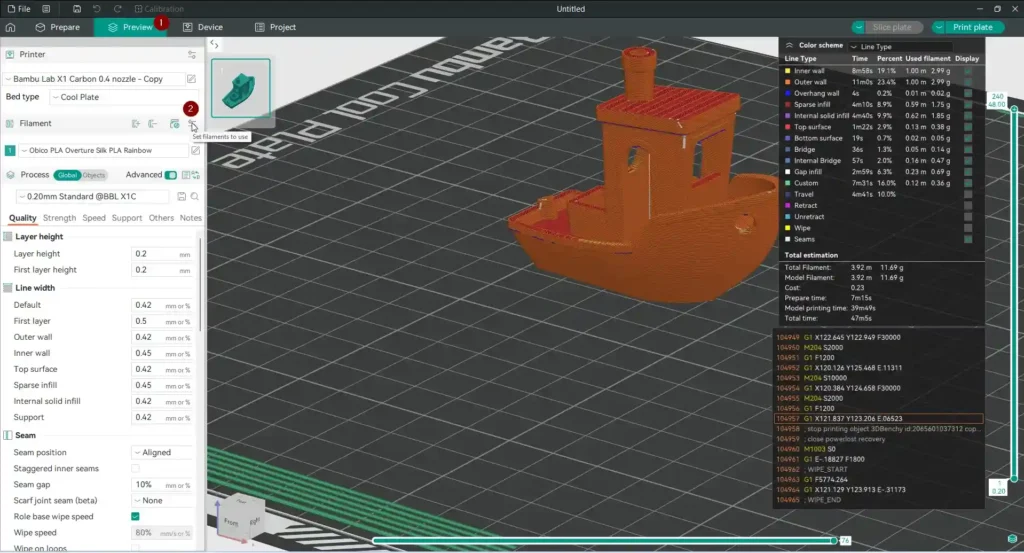
Orca Slicer Filament Profiles Location
Finding the Orca Slicer filament profiles location is straightforward. Typically, these profiles are stored in the software’s configuration folder. You can access them by navigating to the “Filament” tab in Orca Slicer and selecting “Manage Filaments.” From there, you can import, export, or customize profiles to suit your needs.
Orca Slicer Filament Profiles Download
If you’re looking to expand your library of filament profiles, you can download additional Orca Slicer filament profiles from online communities or the official Orca Slicer repository. These profiles are often shared by experienced users and can save you time during setup.
Optimizing Orca Slicer Filament Settings
Orca Slicer Filament Calibration
Calibration is key to achieving perfect prints. Orca Slicer filament calibration involves adjusting settings like extrusion multiplier, temperature, and retraction to match your specific filament. The software includes built-in calibration tools, such as temperature towers and retraction tests, to help you fine-tune these parameters.
Orca Slicer Filament Retraction Settings
Retraction is crucial for preventing stringing and oozing. In Orca Slicer filament retraction settings, you can adjust the retraction distance and speed based on your filament type. For example, PLA typically requires a retraction distance of 1-2mm, while PETG may need 3-5mm.
Orca Slicer Filament Ramming
Ramming refers to the process of pushing filament into the nozzle to clear any residue before retracting. This setting is particularly useful for materials prone to oozing. In Orca Slicer filament ramming, you can control the ramming speed and volume to optimize performance.
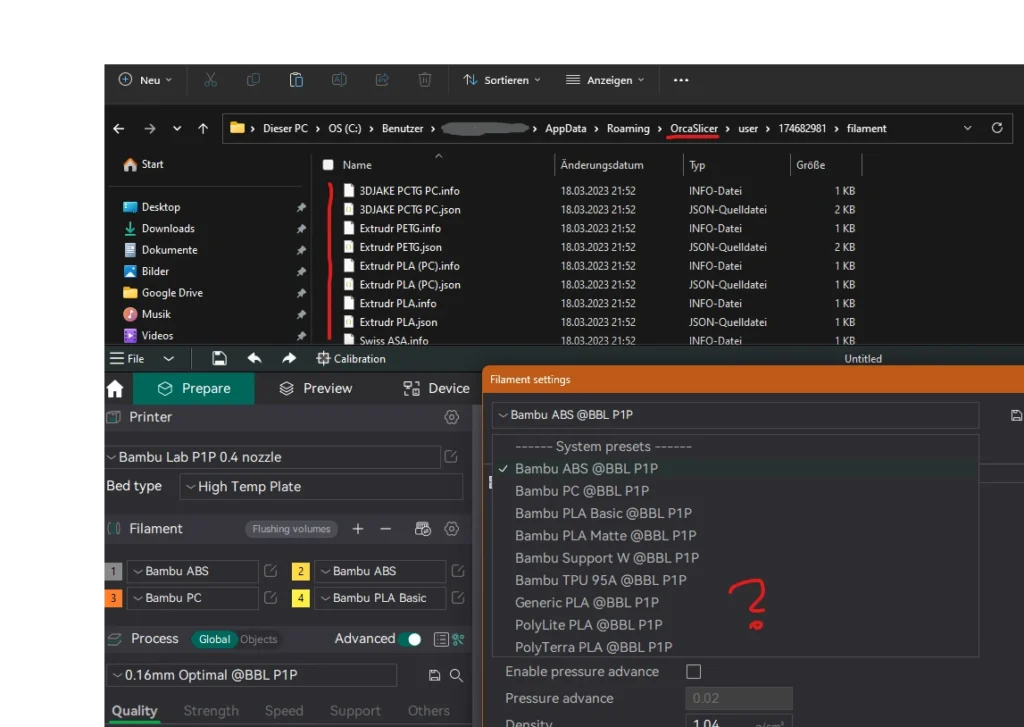
Advanced Features: Orca Slicer Filament Change and Layer-Specific Adjustments
Orca Slicer Filament Change
Switching filaments mid-print is a common requirement for multi-color or multi-material prints. With Orca Slicer filament change, you can easily insert a pause in the print process to swap filaments. This feature is accessible through the “Filament Change” option in the “Custom G-code” settings.
Orca Slicer Filament Change at Layer
For more precise control, you can configure Orca Slicer filament change at layer. This allows you to specify the exact layer where the filament change should occur. It’s ideal for creating intricate designs with multiple colors or materials.
Using Orca Slicer Filament Presets
What Are Orca Slicer Filament Presets?
Orca Slicer filament presets are pre-defined configurations for common filament types. These presets simplify the setup process by providing optimized settings for materials like PLA, ABS, and TPU. You can also create custom presets for unique filaments.
Importing and Exporting Filament Settings
If you’ve customized your filament settings, you can save them for future use. Orca Slicer export filament settings allows you to create a backup of your configurations. Similarly, you can import settings from other users or software, such as Cura, using the import cura profile to orca slicer feature.
Troubleshooting Common Issues
Orca Slicer Not Showing All Filaments
If you encounter the issue of Orca Slicer not showing all filaments, it could be due to a corrupted configuration file or missing profiles. To resolve this, try resetting the software or reinstalling the latest version.
Orca Slicer There Are 0 Configs Imported
The error message “Orca Slicer there are 0 configs imported” typically occurs when importing incompatible or corrupted profiles. Ensure that the files you’re importing are in the correct format and compatible with your version of Orca Slicer.
Cost Considerations: Orca Slicer Filament Cost
While Orca Slicer itself is free, the Orca Slicer filament cost depends on the type of filament you use. High-quality filaments like carbon fiber or specialty blends can be more expensive but offer superior results. Balancing cost and performance is essential for achieving the best outcomes.
Customizing Orca Slicer for Unique Filaments
Orca Slicer Custom Filament
For filaments not covered by default profiles, you can create Orca Slicer custom filament settings. This involves manually adjusting parameters like temperature, flow rate, and cooling to match the material’s properties. Experimentation and testing are key to finding the perfect configuration.
How to Import Cura Profiles into Orca Slicer
If you’re transitioning from Cura to Orca Slicer, you might want to bring your existing filament profiles with you. The import cura profile to orca slicer feature allows you to seamlessly transfer your settings. Simply export your Cura profiles and import them into Orca Slicer using the “Import Config” option.
Managing Multiple Filament Configurations
Orca Slicer Not Showing All Filaments
Sometimes, users face the issue of Orca Slicer not showing all filaments in the dropdown menu. This can happen if the filament profiles are not correctly loaded or if there’s a conflict in the configuration files. To fix this, ensure that your profiles are stored in the correct Orca Slicer filament profiles location and restart the software.
Exporting and Sharing Filament Settings
Orca Slicer Export Filament Settings
Once you’ve perfected your filament settings, you might want to share them with others or use them on a different machine. The Orca Slicer export filament settings feature allows you to save your configurations as a file, which can be imported later or shared with the community.
Conclusion: Mastering Orca Slicer Filament Settings
Orca Slicer is a powerful tool for 3D printing enthusiasts, offering unparalleled customization and control over filament settings. By understanding Orca Slicer filament profiles, calibration, and advanced features like filament change at layer, you can elevate your printing projects to new heights. Whether you’re a beginner or an expert, optimizing your filament settings is the key to achieving flawless prints.
Final Tips for Success
- Regularly update your Orca Slicer filament presets to reflect new materials and techniques.
- Use calibration tools to fine-tune settings for each filament type.
- Explore online communities for additional Orca Slicer filament profiles download options.
- Experiment with Orca Slicer custom filament settings to unlock the full potential of unique materials.
By following this guide, you’ll be well-equipped to tackle any 3D printing challenge with confidence and precision. Happy printing!
Frequently Asked Question
How to Import Filament Profile in Orca Slicer?
To import a filament profile:
Open Orca Slicer and go to the “Filament” tab.
Click on “Manage Filaments.”
Select “Import” and choose the filament profile file (usually in .json or .ini format).
The imported profile will now appear in your filament list, ready to use.
How do I import 3D model files into Orca Slicer?
To import 3D model files (e.g., .stl, .obj, .3mf):
Open Orca Slicer.
Click on “File” in the top menu and select “Import.”
Choose the file from your computer.
The model will load into the workspace, where you can adjust settings and prepare it for printing.
How do I add a new profile in Orca Slicer?
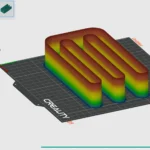
To add a new profile:
Go to the “Filament” or “Print Settings” tab.
Click on “Manage Filaments” or “Manage Profiles.”
Select “Create New” and configure the settings (e.g., temperature, retraction, flow rate).
Save the profile with a unique name for future use.
How do I add a filament change at a specific layer in Orca Slicer?
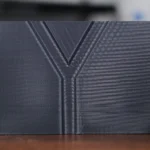
To add a filament change:
Open your 3D model in Orca Slicer.
Go to the “Preview” tab and select the layer where you want the change.
Right-click on the layer and choose “Filament Change” or use the “Custom G-code” option.
The printer will pause at the specified layer, allowing you to swap filaments.
Where can I download additional Orca Slicer filament profiles?

You can download Orca Slicer filament profiles from:
The official Orca Slicer GitHub repository.
Online 3D printing communities like Reddit, Thingiverse, or PrusaPrinters.
Manufacturer websites that provide profiles for their specific filaments.
Where are Orca Slicer filament profiles stored on my computer?
The Orca Slicer filament profiles location is typically in the software’s configuration folder. The exact path depends on your operating system:
Windows: C:\Users\[YourUsername]\AppData\Roaming\OrcaSlicer\filaments
Mac: /Users/[YourUsername]/Library/Application Support/OrcaSlicer/filaments
Linux: /home/[YourUsername]/.config/OrcaSlicer/filaments
How do I export filament settings from Orca Slicer?
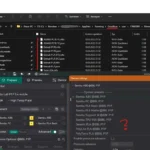
To export filament settings:
Go to the “Filament” tab and click on “Manage Filaments.”
Select the profile you want to export.
Click on “Export” and save the file (usually in .json format).
You can now share or transfer the profile to another machine.
What are Orca Slicer filament presets, and how do I use them?

Orca Slicer filament presets are pre-configured settings for common filament types like PLA, ABS, and PETG. To use them:
Go to the “Filament” tab.
Select a preset from the dropdown menu.
Adjust the settings if needed, or use them as-is for quick setup.
Can I import Cura profiles into Orca Slicer?
Yes, you can import Cura profile to Orca Slicer by:
Exporting the profile from Cura as a .curaprofile file.
Opening Orca Slicer and going to “File” > “Import Config.”
Selecting the exported Cura profile.
Note: Some settings may need manual adjustment due to differences between the two slicers
Why are some filaments not showing up in Orca Slicer?
If Orca Slicer is not showing all filaments, it could be due to:
Corrupted or missing profile files.
Incorrect Orca Slicer filament profiles location.
Software bugs or outdated versions.
Solution: Reset the software, reinstall it, or manually check the profiles folder.
What does the error “Orca Slicer there are 0 configs imported” mean?

This error occurs when:
The imported file is incompatible or corrupted.
The file format is not supported.
Solution: Ensure the file is in the correct format (e.g., .json) and compatible with your Orca Slicer version.
How do I create a custom filament profile in Orca Slicer?

To create a custom filament profile:
Go to the “Filament” tab and click on “Manage Filaments.”
Select “Create New” and configure settings like temperature, retraction, and flow rate.
Save the profile with a unique name.
Use the profile for your specific filament type.




2 Comments