
Orca Slicer Ironing: Settings for Smooth Top Surfaces
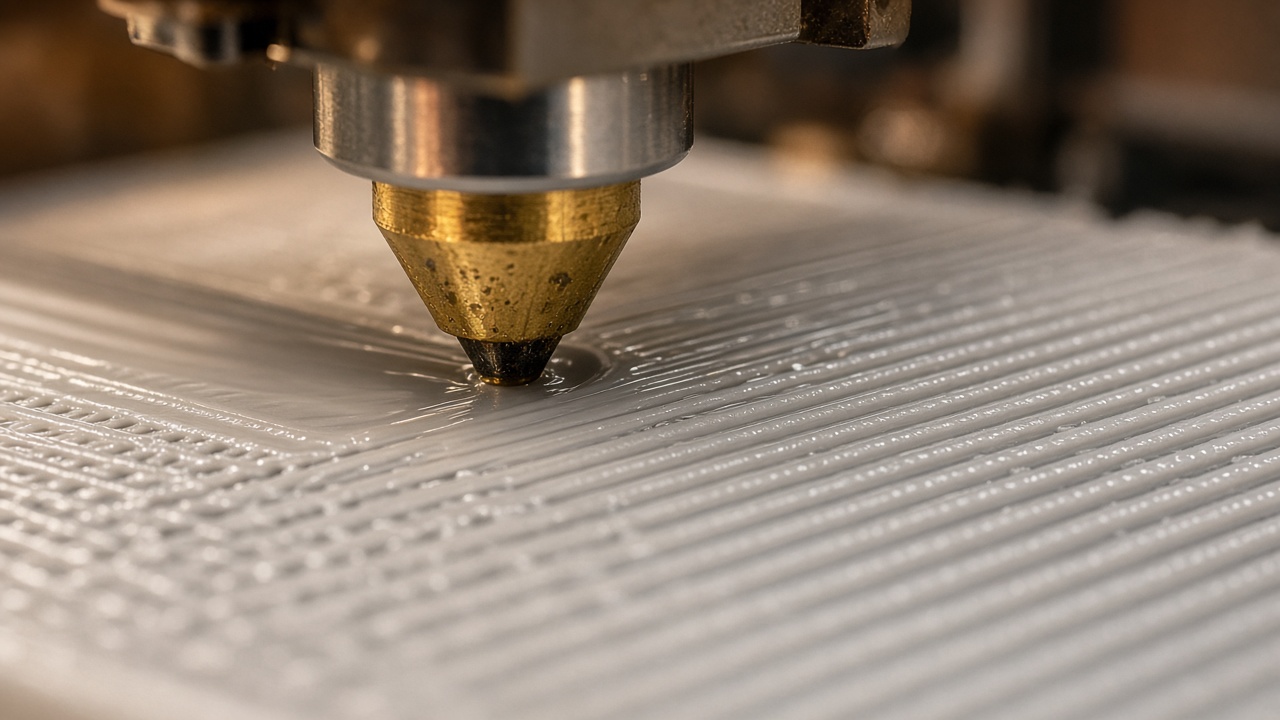
Orca Slicer ironing runs the hot nozzle over a finished top surface a second time with very little flow. The nozzle melts the ridges between top lines and fills tiny gaps, so flat tops come out smooth and often glossy. You pay for it with extra print time on every ironed layer.
This page walks through every ironing setting in the Quality tab, the speed and fan options that go with it, and the fixes for the problems people report most. Settings live under Process > Quality > Ironing in Advanced mode. For the full list of print settings, open the Orca Slicer wiki.
What does ironing do in Orca Slicer?
Ironing adds one extra pass at the same height as a top layer. The nozzle extrudes a small fraction of normal flow and drags across the surface on tightly spaced lines. Heat and pressure flatten the bumps left by the regular top infill, and the trickle of plastic fills pinholes between lines.
Use it for flat, visible tops: name plates, lids, coasters, enclosure panels and logo tiles. Skip it on curved or sloped tops. A sloped surface steps every layer, so the nozzle only reaches a thin strip of each step and the time cost brings almost no benefit.
Where are the ironing settings?
You find them in Process > Quality > Ironing. Ironing speed sits in the Speed tab under Other layers speed. Recent versions also add per-filament overrides for ironing flow, line spacing, inset and speed in the filament settings, plus an Ironing fan speed option in the filament Cooling tab. These overrides help when you print several materials that need different values.
Orca Slicer ironing settings explained
The table lists the base defaults from the OrcaSlicer v2.5.1 source. Your printer profile may ship different numbers, so check your own preset before you change anything.
| Setting | Base default | What it controls |
|---|---|---|
| Ironing type | No ironing | Which surfaces Orca irons |
| Ironing pattern | Rectilinear | Path shape of the ironing pass |
| Ironing flow | 10% | Plastic extruded during the pass |
| Ironing line spacing | 0.1 mm | Gap between ironing lines |
| Ironing inset | 0 (half the nozzle diameter) | Distance kept from the surface edge |
| Ironing angle offset | 0° | Line angle relative to the top infill |
| Fixed ironing angle | Off | Uses the angle as an absolute value |
| Ironing speed | 20 mm/s | Travel speed of the ironing pass |
| Ironing fan speed (filament) | -1 (off, normal fan used) | Part cooling fan speed while ironing |
Ironing type
This choice decides which layers receive the extra pass. You get four options:
- No ironing: the feature stays off.
- Topmost surface only: irons only the last top layer of each object. Pick this for a part with one flat top and save time.
- All top surfaces: irons every top surface, including lower flat steps. Pick this for stepped parts such as signs with raised letters.
- All solid layers: irons internal solid infill as well. Print time climbs sharply, so keep it for special cases.
Ironing pattern
Rectilinear runs straight parallel lines. Concentric follows the outline of the surface inward. Rectilinear suits square and rectangular tops. Concentric often looks better on round tops because the lines follow the edge. The angle settings only work with Rectilinear.
Ironing flow
Flow sets how much plastic the nozzle pushes during the pass, as a percentage of normal flow at your layer height. Too little flow leaves fine grooves and a matte, scratchy look. Too much flow piles plastic at the edges and leaves a rough, wavy film. Thin layer heights move less plastic per millimetre, so they often need a slightly higher ironing flow than thick layers.
Ironing line spacing
Spacing is the distance between neighbouring ironing lines. Keep it at or below the nozzle diameter. Tighter spacing gives better coverage but adds time. With a 0.4 mm nozzle, most users stay between 0.1 and 0.2 mm.
Ironing inset
Inset keeps the ironing pass away from the surface edge. A value of 0 applies half the nozzle diameter automatically. Raise it if you see small ridges or blobs along the outer wall at the top. Lower it if the outer band of the surface stays rough.
Ironing angle offset and fixed angle
Angle offset turns the ironing lines relative to the top infill direction. Common choices are 0°, 45° and 90°. When you enable Fixed ironing angle, Orca uses the value as an absolute angle on every layer instead of an offset. A fixed angle stops the direction from alternating, which reduces the light and dark banding some users call tiger striping. With the default 45° top infill, a fixed angle of 0° or 90° keeps the ironing lines well away from the infill lines.
Ironing speed
Ironing speed controls how fast the nozzle moves during the pass. Slower passes give heat more time to melt the ridges. Faster passes cut time but can leave streaks. The filament’s Max volumetric speed still caps the result.
Ironing fan speed
This filament option sets the part cooling fan during ironing. At -1 Orca keeps your normal fan speed. A lower fan speed keeps the thin film of plastic soft long enough to fuse, and it also reduces clog risk from the very low flow.
How to enable ironing in Orca Slicer
- Switch to Advanced mode. Click the Advanced toggle at the top of the Process panel. Ironing options stay hidden in Simple mode.
- Open the Ironing group. Go to Process, then the Quality tab, and scroll to the Ironing group.
- Pick an ironing type. Set Ironing type to Topmost surface only for a single flat top, or All top surfaces when a model has several flat levels.
- Set flow and spacing. Start from the base values: 10% flow and 0.1 mm line spacing. Adjust in small steps after a test print.
- Check ironing speed. Open the Speed tab and confirm Ironing speed under Other layers speed. The base value is 20 mm/s.
- Slice and preview. Slice, switch the preview legend to Line type and confirm the ironing lines appear only on the surfaces you want.
To iron only one object on a crowded plate, right-click that object in the object list, add a per-object setting for Ironing and set the type there. You can also add a modifier shape and enable ironing only inside it.
What are good starting values?
Start from the base defaults and change one value at a time. Print a small flat test tile, such as a 30 x 30 x 3 mm block, instead of your full model. Many users place several tiles on one plate and give each tile a different flow or speed through per-object settings, then compare them under a desk lamp.
- Raise flow in steps of about 2 to 5 percent if fine grooves remain.
- Lower flow if the edges look wavy or the surface feels rough.
- Try a lower ironing fan speed if the surface looks dry and dull.
- Calibrate flow ratio first. Ironing cannot fix an under-extruded top layer, so run the tests in our OrcaSlicer calibration guide before you tune ironing.
Why does ironing look bad on my print?
Most ironing problems trace back to the surface under the pass, not the ironing values. Work through these causes in order.
The test tile looks great but the real part does not
A small tile has dense support under its top. A large part often has sparse infill that lets the top skin sag a tiny amount between infill lines. The nozzle then loses contact in those spots. Add one or two top shell layers or raise sparse infill density, then print again.
Streaks or under-extruded patches
Patches that look starved usually mean the top surface sits slightly below the nozzle in that area. Raise ironing flow by about 5 percent. Also open the Speed preview: if the head slows down around holes or small features, the pass can overheat and smear in those spots.
Rough edges and ridges along the outline
Increase Ironing inset so the pass stops short of the outer wall. Check the outer wall flow and the outer wall line width too, since a wall that bulges above the top skin catches the nozzle.
Uneven colour or shine
Alternating line directions reflect light differently. Turn on Fixed ironing angle, keep the nozzle clean, and keep the ironing speed constant across the surface.
Clogs or clicking during ironing
The very low flow moves filament slowly through the hot end, which raises the risk of heat creep. Keep hot end cooling in good shape, avoid extremely low flow values, and watch the first few ironed layers. Our Orca Slicer troubleshooting guide covers related slicer issues.
Does ironing work with PETG and other materials?
Yes, but each material behaves differently. PETG tends to stick to the nozzle and drag, so users often lower the fan and slow the pass. Silk and matte filaments change their look after ironing, so test on a scrap tile first. Use the per-filament ironing overrides to save a working set for each spool type. The Orca Slicer filament settings guide explains where those overrides sit, and our PETG profile page lists material values worth checking before you iron.
How does ironing relate to other quality settings?
Layer height changes how much plastic each ironing line carries, so revisit ironing flow after you change it. Read the layer height settings guide for that trade-off. Top surface quality also depends on seam placement, because a seam that ends on the top edge leaves a bump the ironing pass cannot flatten. For support surfaces, Orca has a separate support ironing feature with its own flow and spacing.
Related guides: Arachne
Frequently asked questions
Does Orca Slicer have ironing?
Yes. Orca Slicer includes ironing under Process, Quality, Ironing. Switch to Advanced mode to see the options.
How do I turn on ironing in Orca Slicer?
Set Ironing type to Topmost surface only or All top surfaces in the Quality tab, then slice. The default type is No ironing, so the feature stays off until you choose a type.
What is the default ironing flow in Orca Slicer?
The base default is 10 percent of normal flow, with 0.1 mm line spacing and 20 mm/s ironing speed. Printer profiles can override these values.
Where is ironing speed in Orca Slicer?
Ironing speed sits in the Speed tab under Other layers speed, not in the Ironing group of the Quality tab.
Can I iron only one object or one area?
Yes. Add a per-object setting for ironing to a single object, or add a modifier and enable ironing inside the modifier volume.
Why does ironing take so long?
The nozzle covers the whole top surface again on lines about 0.1 mm apart at low speed. Choose Topmost surface only and wider spacing to cut the time.
Get better top surfaces today
Ironing works best on a calibrated printer with the latest slicer build. Grab the current Orca Slicer download, run a flat test tile with the values above, and then explore more quality settings in the Orca Slicer wiki.