
Orca Slicer Line Width: Best Values for Every Feature
Orca Slicer line width sets how wide each extruded line lies on the layer. You can enter it in millimetres or as a percentage of the nozzle diameter, and you can give each feature its own width. Wider lines bond better and print stronger parts. Narrower lines hold finer detail.
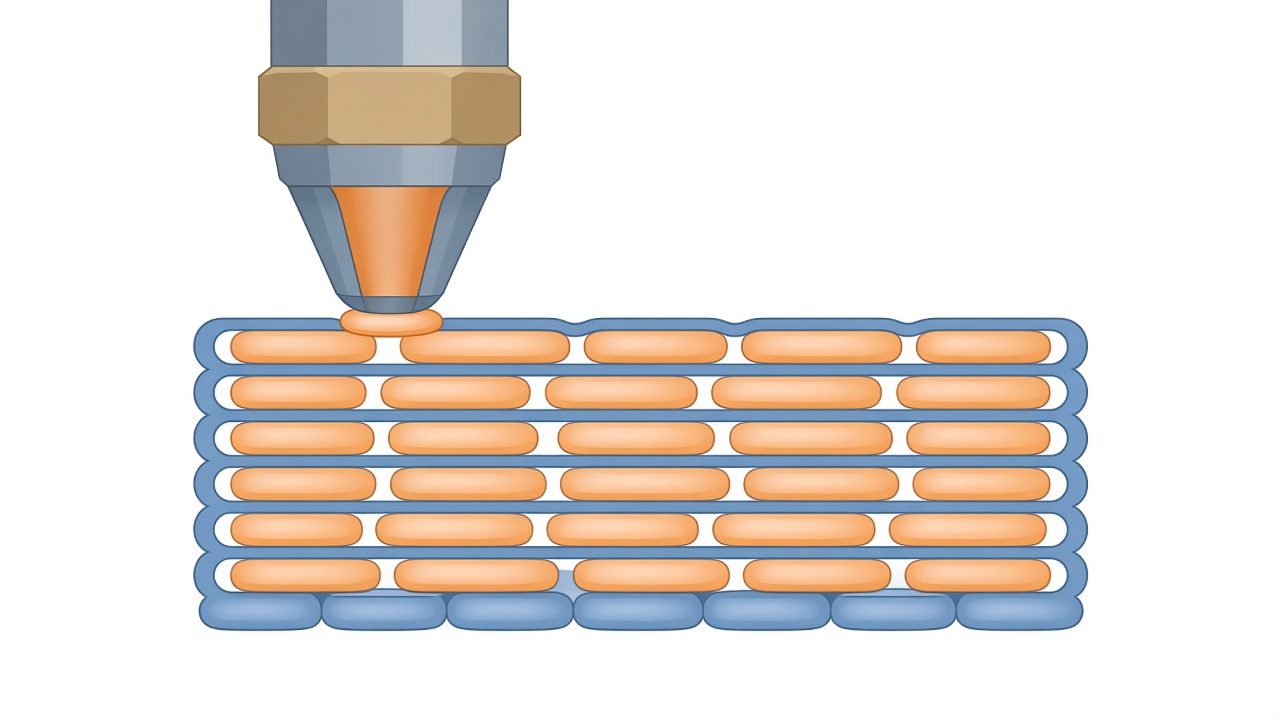
The settings sit in Process > Quality > Line width. This page explains each line type, gives starting values from the official OrcaSlicer documentation, and fixes the “line width too small” error. It belongs to the quality section of our Orca Slicer settings wiki.
What is line width in Orca Slicer?
Line width is the width of a bead after the nozzle presses it onto the layer below. Orca calculates the volume to extrude from the line width and the layer height. A 100% width matches the nozzle opening. Higher values squash the bead wider than the opening.
Percentages scale with the nozzle diameter in your printer settings. Swap a 0.4 mm nozzle for a 0.6 mm nozzle and every percentage width updates itself. Fixed millimetre values stay the same, which can leave a 0.6 mm nozzle printing thin 0.42 mm lines by mistake.
Which line width settings does Orca Slicer have?
Each line type controls one feature of the print. The starting values below come from the official OrcaSlicer wiki recommendations.
| Line type | Suggested start | Main job |
|---|---|---|
| Default | 100% of nozzle | Fallback for any line type set to 0 |
| First layer | Wider than normal | Bed adhesion; also sets brim and skirt width |
| Outer wall | 105% to 120% | Surface finish and dimensional accuracy |
| Inner wall | 120% or more | Wall strength |
| Top surface | 100% to 105% | Smooth visible tops |
| Sparse infill | About 115% | Infill bonding within flow limits |
| Internal solid infill | About 110% | Solid layers, bottom surfaces, 100% infill |
| Support | About 100% | Support strength and easy removal |
| Bridge | About 100%, maximum 100% | Lines printed in mid-air |
Default
Default acts as the fallback. Any other line type set to 0 inherits it. Set it to 100% of the nozzle diameter as a safe base, then override only the features that need a different width.
First layer
A wider first layer presses more plastic into the bed and covers small dips in the build surface. It improves adhesion, especially with a slightly thicker first layer height. This value also overrides brim and skirt widths.
Outer wall
The outer wall forms the visible skin, so it affects finish and size accuracy. A width slightly above the nozzle size, around 105% to 120%, gives clean overhangs and good detail. Very wide outer walls blur sharp corners and fine text.
Inner wall
Inner walls sit behind the outer wall where nobody sees them. Make them wider than the outer wall, often 120% or more, to add strength and reduce print time.
Top surface
Top surface lines form the visible top. Keep them close to the nozzle size, around 100% to 105%, so the lines merge without over-extrusion. Some users drop slightly below 100% for a tighter, smoother top.
Sparse infill
Sparse infill benefits from a slightly wider line, about 115%, for better layer bonding. Going much wider pushes you toward the filament’s volumetric flow limit. For stronger infill, raise the infill line multiplier or density instead.
Internal solid infill
This width applies to internal solid layers, bottom surfaces and 100% infill. Around 110% gives good adhesion between layers and a clean bottom.
Support
Keep support lines around 100%. Much narrower lines make weak supports that can fall over or snap during removal and leave debris on the part.
Bridge
Bridges print over air, so the bridge width cannot go above the nozzle diameter. Set it near 100% and raise bridge density for better bonding between bridge lines. At 0, Orca uses the internal solid infill width for bridges, and thick bridges use the nozzle diameter instead.
How to change line width in Orca Slicer
- Open the Quality tab. Select your process preset, switch to Advanced mode and open the Quality tab.
- Find the Line width group. Scroll to Line width. You see Default, First layer, Outer wall, Inner wall, Top surface, Sparse infill, Internal solid infill, Support and Bridge.
- Choose percent or millimetres. Type a value with a percent sign, such as 105%, to scale with the nozzle. Type a plain number, such as 0.42, for a fixed width.
- Set the Default width. Enter a fallback width. Any line type set to 0 uses this value.
- Adjust single line types. Change only the features you care about, such as a wider inner wall for strength or a narrower top surface for finish.
- Slice and check the preview. Switch the preview legend to Line width and confirm the colours match your plan.
Does line width work the same with Arachne?
No. These values match the printed lines exactly only with the Classic wall generator. The default Arachne generator varies wall width along the model to fill thin sections, and it treats your values as a reference. That explains why the preview can show a 0.8 mm line on a part set to 0.42 mm. Arachne merges two thin walls into one wider wall where the geometry needs it. Adjust Minimum wall width and the other Arachne options to limit that behaviour, or switch to Classic when you need fixed widths.
How does line width interact with layer height?
Orca models each bead as a flattened oval, so two neighbouring lines overlap slightly. The line spacing equals the line width minus a small overlap that grows with layer height. A 0.42 mm line at 0.2 mm layer height ends up about 0.38 mm from its neighbour. Thicker layers need wider lines to stay stable. Pair this page with our Orca Slicer layer height guide when you change both values.
How do I fix the line width too small error?
Orca blocks slicing when a line width cannot work with the current layer height or nozzle. Users hit it most often after a layer height change, a nozzle change, or loading a calibration model.
- Check the nozzle diameter. Open printer settings, then Extruder, and confirm the nozzle size matches the hardware. A wrong nozzle size breaks every percentage width.
- Lower the layer height. A layer height close to the nozzle diameter forces higher minimum widths. Drop the layer height or widen the lines.
- Check special widths. The error can name Skin infill line width or Skeleton infill line width. These belong to the Locked Zag infill pattern in the Strength tab. Switch the infill pattern or widen those values.
- Repair the model. Right-click the object and choose Fix model when a calibration or imported part still fails.
What line width should I use for strength or detail?
For strong functional parts, widen inner walls and sparse infill, keep the outer wall around 105% to 110%, and add wall loops before you push widths further. For miniatures and fine text, keep outer walls near 100% and consider a smaller nozzle. Watch the volumetric speed limit when you widen lines on a fast printer, because a wider line at the same speed needs more flow. Our Orca Slicer calibration guide shows how to find that limit.
Which pages pair with line width?
Line width works together with Orca Slicer ironing for smooth tops, because the top surface width sets the base the ironing pass flattens. Seam quality also changes with outer wall width, so check the seam settings guide after big changes. Filament-specific flow limits live in the filament settings.
Related guides: adaptive layer height
Frequently asked questions
What is the default line width in Orca Slicer?
The Default line width acts as a fallback for any line type set to 0. Most printer profiles set it close to the nozzle diameter, such as 0.42 mm for a 0.4 mm nozzle.
Should I use percentages or millimetres?
Percentages scale with the nozzle diameter, so they keep working when you change nozzles. Millimetres give an exact width but need manual updates after a nozzle swap.
Why does the preview show wider lines than I set?
The Arachne wall generator varies wall width to fill thin sections. Switch to Classic or raise Minimum wall width if you need fixed widths.
What is the maximum bridge line width?
Bridge line width cannot exceed 100% of the nozzle diameter, because the line has no layer below to press against.
Can a wider line width make prints stronger?
Yes. Wider inner walls and infill lines bond better and add strength, as long as the extra flow stays within your filament’s volumetric limit.
Tune your line widths now
Set your widths by percentage, slice a test part and compare the preview against this guide. Make sure you run the latest Orca Slicer build so the line width options match this page.