
Orca Slicer Overhangs: Settings to Print Steeper Angles
Orca Slicer overhangs settings decide how the printer handles walls that lean out past the layer below. Mild overhangs print fine on their own. Steep ones curl, droop or leave a rough underside unless you slow down, cool harder or change the path direction.
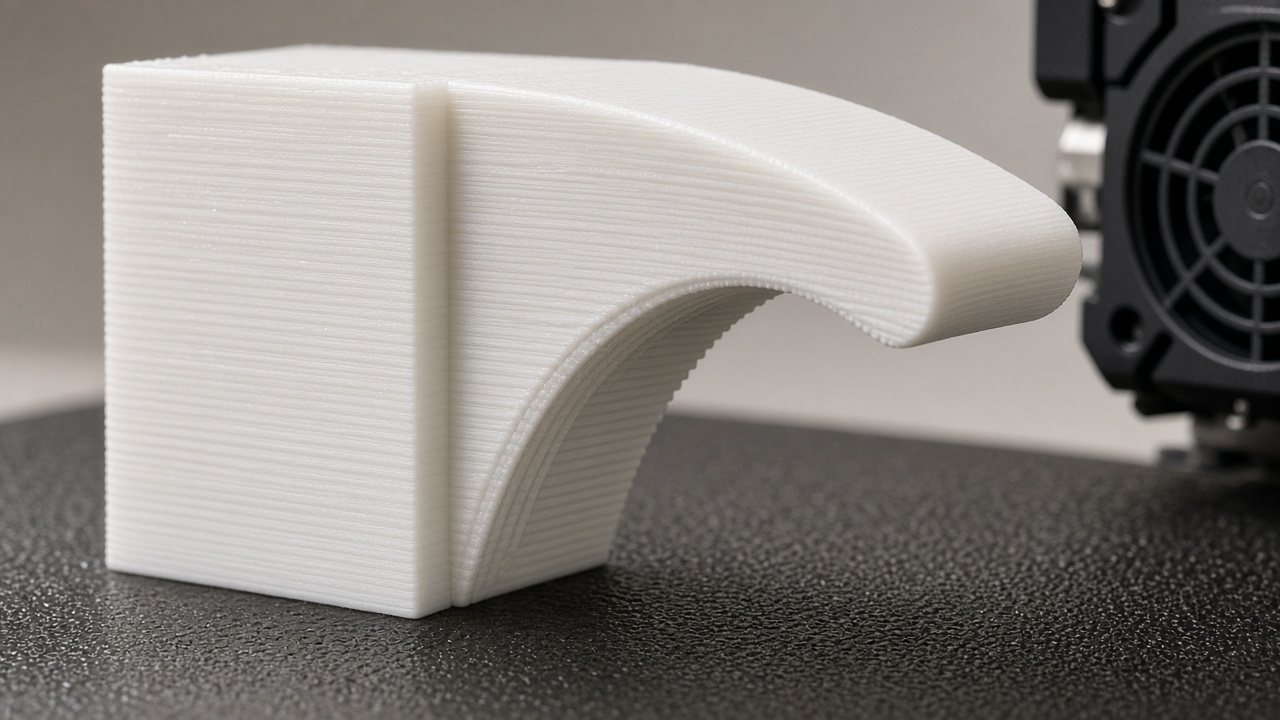
The geometry options sit in Process > Quality > Overhangs. Overhang speeds live in the Speed tab and overhang cooling in the filament Cooling tab. This page covers all three groups and the most common fixes. Find related settings in the Orca Slicer wiki.
How does Orca Slicer measure overhangs?
Orca measures overhang as the share of a line’s width that hangs past the layer below. A wall with 25% overhang has a quarter of its width over air. At 100% the whole line hangs free, and Orca prints it with bridge settings. Speeds and fan triggers all use this percentage, not a degree angle.
A rough rule: most printers handle about 45° from vertical without help. Steeper angles need the settings below, and very steep or flat areas need support.
Orca Slicer overhang settings in the Quality tab
| Setting | Base default | What it does |
|---|---|---|
| Detect overhang walls | On | Finds overhanging walls so speed and fan rules apply |
| Print unsupported walls last | Off | Delays wall loops that float in mid-air |
| Make overhangs printable | Off | Changes model geometry to remove steep overhangs |
| Maximum angle | 55° | Steepest overhang kept after the change |
| Hole area | 0 | Largest base hole left unfilled |
| Extra perimeters on overhangs | Off | Adds wall paths over steep overhangs |
| Reverse on even | Off | Flips overhang wall direction on even layers |
| Reverse internal only | Off | Flips only inner walls |
| Reverse threshold | 50% | Overhang amount that triggers the flip |
Detect overhang walls
This option drives everything else. It works out how much of each wall overhangs and prints it with a matching speed. Walls with 100% overhang use bridge speed. Leave it on in almost every case. Some users disable it to stop external bridges printing slowly as overhang walls, but that also removes overhang slowdowns elsewhere.
Print unsupported walls last
Wall loops that sit entirely over air print after the walls that can anchor them. Loops that touch nothing wait until infill or bridges on that layer give them something to rest on. It works with both wall generators and appears only when Detect overhang walls is on.
Make overhangs printable
This option changes the model. It replaces any overhang steeper than Maximum angle with a cone of solid material, so the part prints without support. At 90° nothing changes, and at 0° every overhang becomes a cone. The official documentation suggests 45° to 60° for most printers. Hole area sets the largest hole in the model base that stays open, and 0 fills every hole. Orca warns you when you enable it, because it alters dimensions. Users report that it can also flatten or fill features near the bottom, so check the preview. To limit it to one area, add a modifier and enable the option only inside it.
Extra perimeters on overhangs
Adds extra overhang wall paths over steep overhangs and areas where bridges cannot anchor. It only works with Detect overhang walls enabled.
Reverse on even, reverse internal only and reverse threshold
Reverse on even prints walls that sit over an overhang in the opposite direction on every even layer. The alternating squish direction can improve steep overhangs a lot. It also spreads internal stress, which helps warp-prone ABS and ASA and stretchy TPU. For the strongest effect, set Reverse threshold to 0 so every wall alternates. The trade-off is a faint texture on the outer wall. Reverse internal only keeps the outer wall in one direction for a smoother face. Users also report that alternating direction hides vertical ripples from printer vibration, although it can make layers look slightly offset.
How do overhang speeds work?
Overhang speeds sit in the Speed tab under Overhang speed. With Slow down for overhangs enabled, which is the default, Orca uses four bands: 10%, 25%, 50% and 75% overhang. Each band takes a speed in mm/s or a percentage of outer wall speed. A value of 0 means no slowdown for that band, so the wall speed applies.
Slow down for curled perimeters adds extra slowdown where earlier layers may have curled up, such as the sharp front of a boat hull. Curling builds over several layers, so this option stops it early. The official tooltip recommends leaving it on unless your cooling is very strong. With this option off, walls supported by less than 13% use the external bridge speed.
How do I set overhang cooling?
Cooling settings live in the filament Cooling tab. Force cooling for overhangs and bridges lets you set a separate fan speed for these features. Overhang cooling activation threshold chooses when the extra fan kicks in: 0%, 10%, 25%, 50%, 75% or 95%, with 95% as the base default. At 0% the fan boost runs on all outer walls. Overhangs and external bridges fan speed defaults to 100%. An auxiliary or chamber fan adds airflow on large printers, which our auxiliary fan guide explains.
What about overhang flow ratio?
Overhang flow ratio scales the plastic used on overhangs. It sits in the Walls and surfaces group of the Quality tab with a base default of 1.0 and a range of 0 to 2. Orca multiplies it by the filament flow ratio. A slightly lower value can reduce drooping on thin overhang walls.
How to improve overhangs in Orca Slicer
- Keep Detect overhang walls on. Open Process, Quality, Overhangs and confirm that Detect overhang walls shows a tick so Orca can slow down and cool overhangs.
- Check overhang speeds. Open the Speed tab, enable Slow down for overhangs and set speeds for the 10%, 25%, 50% and 75% bands.
- Turn on curled perimeter slowdown. Enable Slow down for curled perimeters, which helps sharp overhanging corners such as a boat bow.
- Raise overhang cooling. In the filament Cooling tab, set the overhang cooling threshold and keep Overhangs and external bridges fan speed high.
- Try Reverse on even. Back in Overhangs, enable Reverse on even and set Reverse threshold to 0 for steep overhangs.
- Slice and check the preview. Use the Speed and Fan speed legends in the preview to confirm the overhangs slow down and cool as planned.
Why are my overhangs still curling or drooping?
- Too fast: lower the 50% and 75% band speeds first, since those overhangs droop most.
- Too little cooling: drop the overhang cooling threshold to 25% or 50% so the fan boosts sooner.
- Thick layers: thinner layers give each line more support from the layer below. See our adaptive layer height guide to thin layers only where overhangs appear.
- Wrong orientation: rotate the part so the steepest face points up or lies on the plate.
- Bridge-like overhangs: fully floating sections print as bridges, so tune the Orca Slicer bridging settings too.
- Still failing past 60° to 70°: add supports or use Make overhangs printable on that area.
Which settings pair with overhangs?
Outer wall width changes how much each line can lean, so review the line width settings when overhangs fail. Seam position on overhangs can leave blobs, which our seam settings guide covers. For speed and fan baselines by material, check the Orca Slicer filament settings.
Related guides: Arachne wall generator
Frequently asked questions
What is the maximum overhang angle in Orca Slicer?
Orca does not set a hard limit. Most printers handle about 45 degrees without help. With slower overhang speeds, strong cooling and Reverse on even, many printers go steeper. Make overhangs printable defaults to a 55 degree maximum angle.
Where is overhang speed in Orca Slicer?
Open the Speed tab and find the Overhang speed group. Enable Slow down for overhangs and set speeds for the 10, 25, 50 and 75 percent bands.
Does Reverse on even help overhangs?
Yes. It flips the wall direction on even layers, which often improves steep overhangs. Set Reverse threshold to 0 for the strongest effect, and use Reverse internal only if the outer wall texture bothers you.
Can I make only one overhang printable?
Yes. Add a modifier around that area and enable Make overhangs printable inside the modifier, then use supports elsewhere.
What does the overhang cooling threshold do?
It sets how much overhang triggers the overhang fan speed. The base default is 95 percent. Lower values boost the fan on milder overhangs, and 0 percent boosts it on all outer walls.
Why does Make overhangs printable change the bottom of my part?
The option fills steep overhangs and base holes with conical material. Check the Hole area value and the preview, or limit the option with a modifier.
Push your overhangs further
Start with speed and cooling, then try Reverse on even on your next print. Install the latest Orca Slicer release to get every overhang option covered here.