
Orca Slicer Bridging: Settings That Stop Sagging Bridges
Orca Slicer bridging settings control how the printer lays filament across a gap with nothing underneath. Good bridges stay flat and tight. Bad bridges sag, leave gaps between lines or curl at the ends. Most fixes come from four areas: flow, line density, speed and cooling.
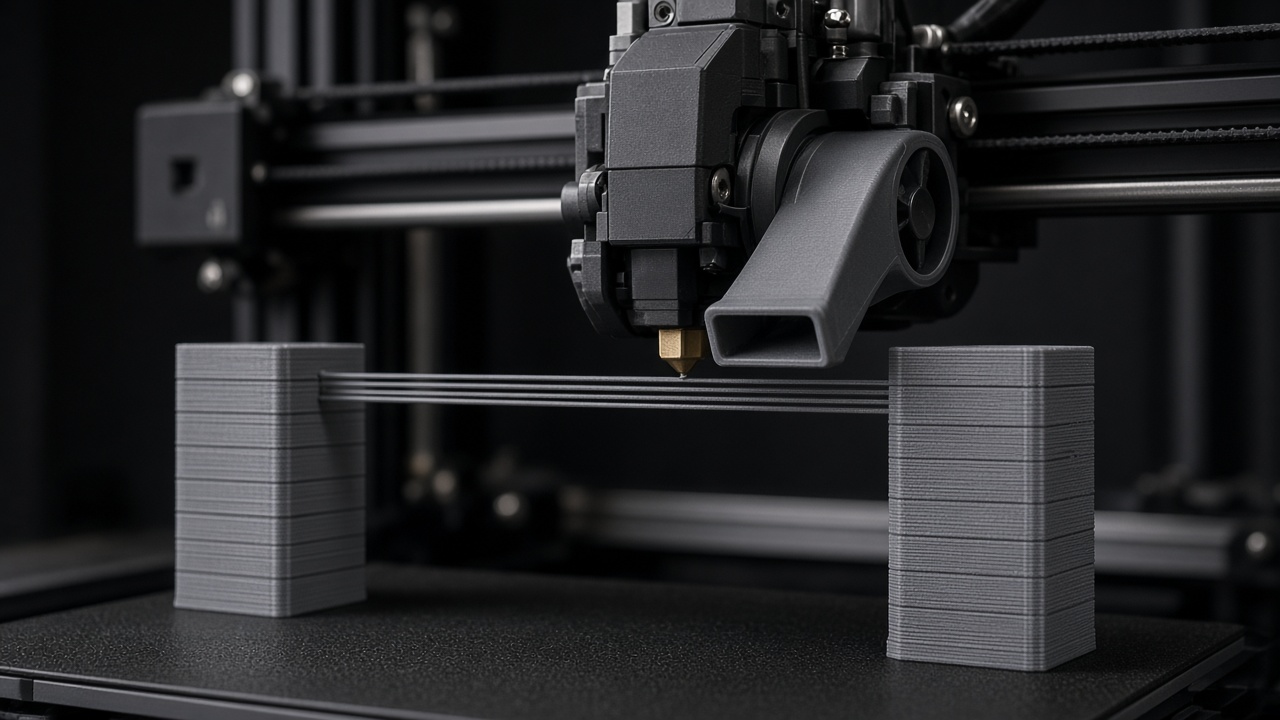
The main options sit in Process > Quality > Bridging. Bridge speed lives in the Speed tab, bridge direction in the Strength tab, and bridge fan speed in the filament Cooling tab. This page covers all of them. Browse the rest of the quality settings in our Orca Slicer wiki.
What counts as a bridge in Orca Slicer?
A bridge is any horizontal line printed over empty space and anchored at both ends. Orca separates two kinds. External bridges span open air and show on the outside of the part, such as the roof of a doorway or the top of a hole. Internal bridges sit inside the part and cover sparse infill so the solid top layers have something to rest on.
The two kinds need different handling. External bridges need low sag and a clean look. Internal bridges need strength and good support for the next layer, so Orca gives each its own flow, density and speed.
Orca Slicer bridging settings explained
The table shows the base defaults from the OrcaSlicer v2.5.1 source. Printer profiles often change them.
| Setting | Base default | Where |
|---|---|---|
| Bridge flow ratio | 1.0 (range 0 to 2) | Quality > Bridging |
| Internal bridge flow ratio | 1.0 | Quality > Bridging |
| External bridge density | 100% (10% to 125%) | Quality > Bridging |
| Internal bridge density | 100% | Quality > Bridging |
| Thick external bridges | Off | Quality > Bridging |
| Thick internal bridges | On | Quality > Bridging |
| Extra bridge layers | Disabled | Quality > Bridging |
| Filter out small internal bridges | Filter | Quality > Bridging |
| Bridge counterbore holes | None | Quality > Bridging |
| External bridge speed | 25 mm/s | Speed > Overhang speed |
| Internal bridge speed | 150% of external | Speed > Overhang speed |
| External bridge infill direction | 0 (automatic) | Strength > Advanced |
Bridge flow ratio and internal bridge flow ratio
Flow ratio sets how much plastic each bridge line carries. Values below 1.0 extrude less and tighten line spacing to keep contact, which reduces sag on external bridges. Values above 1.0 add material at the same spacing, which strengthens internal bridges and gives the top layers a firmer base. Orca multiplies this value by the filament flow ratio, and it also multiplies the internal bridge value by the bridge flow ratio.
External and internal bridge density
Density changes the spacing between bridge lines, not the flow inside each line. At 100% the lines should touch, but sagging lines often pull apart. Raising density toward the 125% maximum overlaps the lines so each one leans on its neighbour, which gives a smoother underside. Too much density causes over-extrusion. Lower densities leave air gaps that cool faster, which some users like for a very first bridge layer, at the cost of more sag.
Thick external bridges and thick internal bridges
Thick bridges print bridge lines with a height equal to the nozzle diameter. The rounder, heavier strand holds its shape over longer spans but looks rougher. Turning thick external bridges off gives a flatter, neater underside on short spans. Keep thick internal bridges on, since they make internal bridges over sparse infill much more reliable.
Extra bridge layers
This option prints a second bridge layer on top of the first. Choose Disabled, External bridge only, Internal bridge only or Apply to all. A second layer reduces pillowing on top surfaces and helps fast printers where bridge speed and solid infill speed differ a lot. The official documentation suggests at least External bridge only for most models.
Filter out small internal bridges
By default Orca skips tiny internal bridges and prints solid infill straight onto sparse infill. That saves time on most parts. Curved or steeply sloped tops can then curl and pillow. Limited filtering adds internal bridges on heavily slanted surfaces only. No filtering adds them everywhere, which often creates too many.
Bridge counterbore holes
A counterbore hole steps from a wide recess to a narrow hole, which leaves an unsupported ring. Partially bridged bridges part of the area to support the next layer. Sacrificial layer prints a full bridge that closes the hole, which you drill or poke through after printing. Some users also report that this option fixes sagging external bridges that Orca treats as overhang walls.
How do bridge speed and cooling affect bridges?
Speed and fan settings matter as much as flow. A bridge printed too slowly droops under its own heat before it cools. A bridge printed too fast snaps or pulls loose from its anchors. External bridge speed defaults to 25 mm/s, and internal bridges run at 150% of that value. One common mistake: dropping bridge speed to 10 mm/s on a bed slinger and getting worse sag. Try 25 to 30 mm/s first.
Cooling comes from the filament settings. Overhangs and external bridges fan speed defaults to 100%. Internal bridges fan speed uses -1 by default, which follows the overhang fan setting. Lower internal bridge cooling can reduce warping on ABS and ASA. If the first lines of a bridge sag but later lines look fine, the fan may spin up too late. A strong auxiliary fan also helps, which our auxiliary fan settings guide explains.
How do I change the bridge direction?
Open Strength > Advanced and set External bridge infill direction or Internal bridge infill direction. At 0 Orca picks the best angle for each bridge automatically. Any other value forces that angle. Enable Relative bridge angle to add your value to the automatic angle instead of replacing it. Bridges almost always perform best when they run across the shortest span between anchors.
How to tune bridging in Orca Slicer
- Print a bridge test. Print a simple test with two pillars and spans of different lengths, using your current settings.
- Check speed and cooling first. Confirm the external bridge speed is not extremely low and the bridge fan runs at full power in the filament Cooling tab.
- Adjust flow ratio. If bridges sag, lower Bridge flow ratio in steps of 0.05. If lines look thin with gaps, raise it.
- Adjust bridge density. Raise External bridge density above 100%, up to the 125% maximum, to close gaps between lines.
- Test thick bridges. Toggle Thick external bridges and compare long spans. Keep Thick internal bridges on.
- Reprint and compare. Change one setting at a time and keep the best result in your process preset.
Calibrate flow ratio and pressure advance first, using our OrcaSlicer calibration guide. Wrong base flow makes bridge tuning impossible.
Why do my bridges still sag?
- Speed too low: raise external bridge speed toward the default.
- Weak cooling: confirm the bridge fan reaches 100% and the duct points at the nozzle.
- Bridge treated as an overhang wall: walls with 100% overhang print with bridge settings, but partly supported walls use overhang speeds. Check the speed preview, and try the counterbore option or the overhang settings.
- Line width too wide: keep bridge line width at or below 100% of the nozzle. See the Orca Slicer line width guide.
- Span too long: enable supports for long spans. Support settings include Don’t support bridges and Max bridge length, which decide which bridges get support.
Which settings pair with bridging?
Ironing a top surface above a pillowed bridge only highlights the defect, so fix bridges before you tune ironing. Material choice changes bridging too: PETG strings and droops more than PLA, which the Orca Slicer PETG profile addresses. For hole accuracy above bridges, see elephant foot compensation and precision settings.
Related guides: overhang settings · Arachne walls
Frequently asked questions
Where are the bridge settings in Orca Slicer?
Flow, density, thick bridges and extra bridge layers sit in Process, Quality, Bridging. Bridge speed sits in the Speed tab, bridge direction in Strength, Advanced, and bridge fan speed in the filament Cooling tab.
What bridge flow ratio should I use?
Start at 1.0. Lower it in steps of 0.05 if external bridges sag. Raise the internal bridge flow ratio slightly for stronger internal bridges.
Should I turn on thick bridges?
Keep Thick internal bridges on. Turn on Thick external bridges for long spans where strength matters more than a smooth underside.
Why are there gaps between my bridge lines?
Bridge lines pull apart as they sag. Raise External bridge density toward 125% and check that bridge flow is not too low.
How do I turn off internal bridges in Orca Slicer?
Set Filter out small internal bridges to Filter, which skips small internal bridges. Orca still needs internal bridges over large sparse areas to support solid layers.
What is the best bridge speed in Orca Slicer?
The base default is 25 mm/s for external bridges. Very slow bridges often sag more, so test around 25 to 30 mm/s with strong cooling.
Print cleaner bridges on your next job
Print one bridge test, change one setting at a time and save the winner. Use the latest Orca Slicer build so every bridging option on this page appears in your settings.