
Orca Slicer Arachne vs Classic: Wall Generator Settings
Orca Slicer Arachne is the default wall generator. It varies the width of each wall line to follow the shape of the model, so thin sections, tapers and small text fill cleanly. The alternative, Classic, prints every wall at one fixed width. Each one wins in different situations.
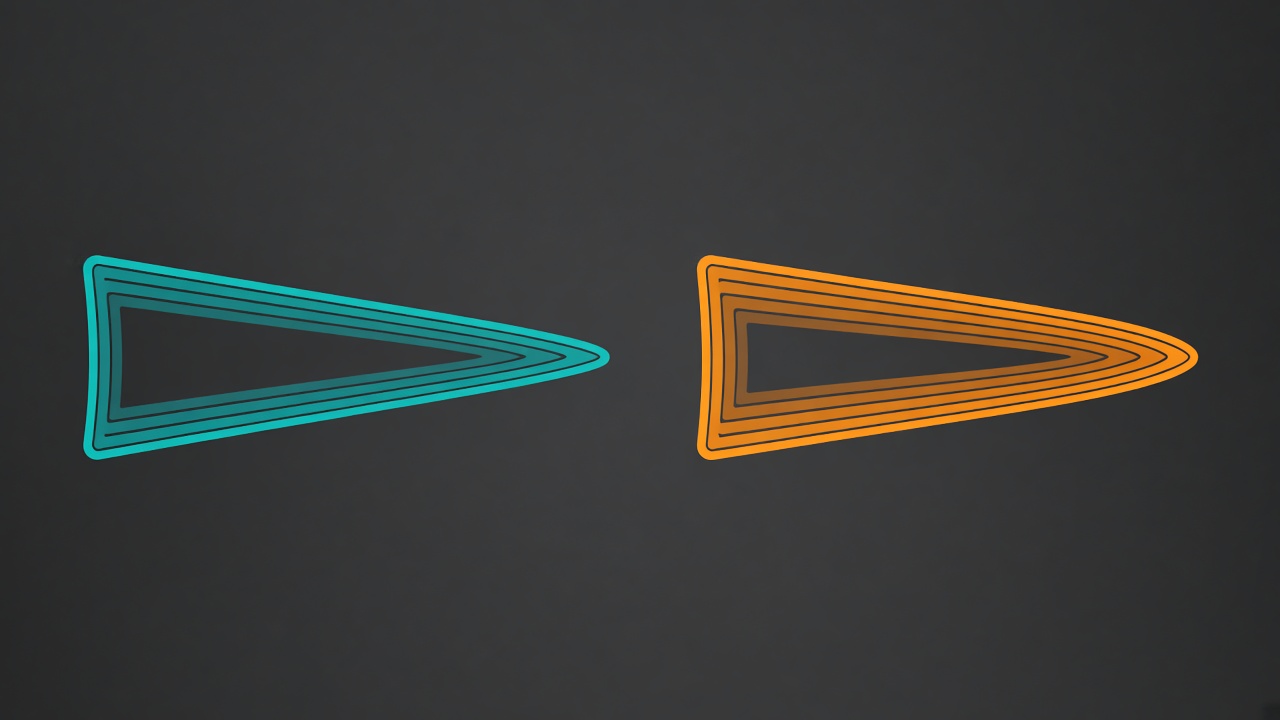
The choice sits in Process > Quality > Wall generator, along with the Arachne tuning options. This page compares both generators, explains every Arachne setting with its base default from the OrcaSlicer v2.5.1 source, and fixes the problems users report. It sits in the quality section of the Orca Slicer wiki.
What is the difference between Arachne and Classic?
Classic creates as many walls as the Wall loops value allows, each at the line width you set. It slices fast and behaves predictably. When a section is too thin for a whole number of walls, Classic leaves a gap or fills it with gap fill.
Arachne changes the width of walls along their length. A tapered wall gets lines that narrow toward the tip instead of leaving a hole. Where a section fits one and a half walls, Arachne widens or merges lines so it fills the space. The method comes from the research paper “A Framework for Adaptive Width Control of Dense Contour-Parallel Toolpaths in Fused Deposition Modeling”.
| Arachne | Classic | |
|---|---|---|
| Line width | Varies with geometry | Fixed at your setting |
| Thin walls and text | Fills them well | Can leave gaps |
| Slicing speed | Slower | Faster |
| Outer wall consistency | Can vary at transitions | Very consistent |
| Default in Orca Slicer | Yes | No |
When should I use Arachne?
Pick Arachne for models with thin ribs, tapers, small embossed text, miniatures and organic shapes. It also helps parts whose wall thickness is not an even multiple of your line width. Most everyday prints look the same with either generator, so the default Arachne works for most users.
When should I use Classic?
Pick Classic when you need exact, fixed line widths, such as tight mechanical fits or calibration prints. Classic also avoids the occasional bulge where Arachne changes wall count on an outer surface. Some miniature printers prefer Classic with careful precision settings for very fine detail. Line width values in Orca match the printed lines exactly only in Classic mode, as our Orca Slicer line width guide explains.
Orca Slicer Arachne settings explained
These options appear only when you select Arachne. Percentages refer to the nozzle diameter.
| Setting | Base default | Range |
|---|---|---|
| Wall transitioning threshold angle | 10° | 1° to 59° |
| Wall transitioning filter margin | 25% | 0% and up |
| Wall transitioning length | 100% | 0% and up |
| Wall distribution count | 1 | 1 and up |
| Minimum wall width | 85% | 0% and up |
| First layer minimum wall width | 85% | 0% and up |
| Minimum feature size | 25% | 0% and up |
| Minimum wall length | 0.5 | 0 to 25 |
| Maximum wall resolution | 0.5 mm | 0.005 to 0.5 mm |
| Maximum wall deviation | 0.025 mm | 0.005 to 0.05 mm |
Wall transitioning threshold angle
This angle decides when Arachne switches between an even and an odd number of walls in a wedge shape. Wedges sharper than this angle get no extra centre wall. Lower values cut the number and length of centre walls but can leave gaps or over-extrude.
Wall transitioning filter margin
The margin stops Arachne from flipping back and forth between wall counts. It keeps line widths within a band around the minimum wall width. Higher values mean fewer transitions, fewer travel moves and fewer starts and stops, at the cost of more width variation.
Wall transitioning length
When the wall count changes as a part gets thinner, this sets the distance Arachne uses to split or join the walls. Longer transitions look smoother and shorter ones stay closer to the model.
Wall distribution count
This sets how many walls, counted from the centre, share the width changes. The default of 1 keeps all variation in the innermost wall, so the outer wall stays consistent for the best surface. Higher values spread the change outward.
Minimum wall width and first layer minimum wall width
Minimum wall width sets the width of the single wall that replaces a thin feature. Features thicker than this value get a wall that matches their width. Users who see Arachne print lines narrower than their nozzle often raise it to 100% for cleaner extrusion. The official documentation recommends matching the first layer value to the nozzle diameter for better adhesion and stable base walls.
Minimum feature size
Arachne skips features thinner than this value. It widens features above it but thinner than the minimum wall width to that width. Lower it to keep very fine details, such as thin fins or hair on a miniature.
Minimum wall length
Removes very short, isolated wall segments that waste time. Higher values drop more short walls. Top and bottom surfaces stay unaffected. The One wall threshold option appears when this value goes above 0.5 or when single-wall top surfaces are on.
Maximum wall resolution and maximum wall deviation
Resolution sets the shortest wall segment Arachne keeps when it simplifies paths. Deviation sets how far a simplified path may stray from the model. Lower values keep curves and detail and create larger G-code. When the two conflict, the deviation limit wins.
How to switch between Arachne and Classic in Orca Slicer
- Open the Wall generator group. Select your process preset, switch to Advanced mode, open the Quality tab and scroll to Wall generator.
- Choose a generator. Pick Arachne for thin features and variable walls, or Classic for fixed line widths and predictable paths.
- Tune Arachne if needed. With Arachne selected, adjust Minimum wall width and Minimum feature size first. Leave the transition settings at their defaults until you see a specific problem.
- Slice and check line widths. Slice the model, set the preview legend to Line width and look at thin areas and tapers.
- Compare with the other generator. Switch generators, slice again and compare the same area. Keep the one that fills thin walls without gaps or bulges.
Why does Arachne cause bulges or uneven walls?
Bulges appear where Arachne changes the wall count on a visible surface, because the transition adds a short wider line. Try these fixes in order:
- Keep Wall distribution count at 1 so changes stay in the inner walls.
- Raise Wall transitioning filter margin to reduce how often transitions happen.
- Raise Minimum wall width toward 100% to avoid very thin lines.
- Adjust the part’s wall thickness in CAD to a clean multiple of your line width.
- Switch to Classic for that part if the bulge sits on a critical surface.
Lines that show up much wider than your setting, such as 0.8 mm on a 0.42 mm profile, come from Arachne merging two thin walls. That behaviour is normal, not a bug.
Which settings pair with the wall generator?
Precise wall in the Precision group removes the overlap between outer and inner walls and improves accuracy with either generator. Read the precision and elephant foot compensation guide for details. Arachne also affects overhang walls, which the Orca Slicer overhangs page covers. Thin layers combined with Arachne give the finest miniature detail, so see the layer height settings as well.
Related guides: bridging settings · ironing · seam settings
Frequently asked questions
Does Orca Slicer use Arachne by default?
Yes. The base default wall generator in Orca Slicer is Arachne. You can switch to Classic in Process, Quality, Wall generator.
Is Arachne better than Classic?
Arachne handles thin walls, tapers and small text better. Classic gives fixed line widths, faster slicing and very consistent outer walls. Pick based on the model.
Why are some lines wider than my line width setting?
Arachne varies wall width to fill thin sections and can merge two walls into one wider line. Switch to Classic or raise Minimum wall width to limit it.
What minimum wall width should I use?
The base default is 85 percent of the nozzle diameter. Many users raise it toward 100 percent to avoid very thin lines that under-extrude.
How do I enable Arachne in Orca Slicer?
Open Process, Quality, Wall generator and choose Arachne. Switch to Advanced mode to see the Arachne tuning options.
Pick the right walls for every model
Slice your next part with both generators and compare the line width preview. Get the newest Orca Slicer download so your wall generator options match this guide.